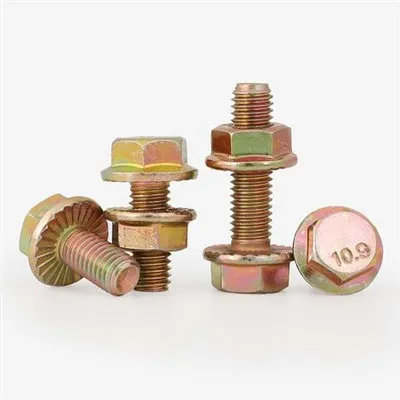
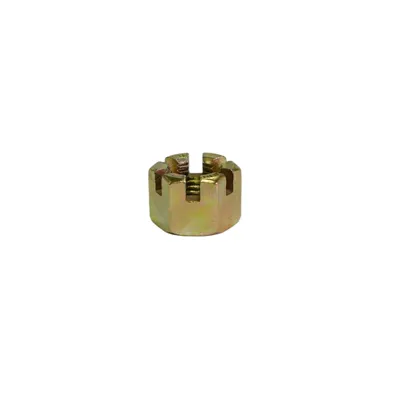
Bolt Assembly
Dec 17, 2025
1. Before assembly, visually inspect the bolts, nuts, and threaded holes of the connected parts. They should be free of dents and scratches and conform to the standards referenced in the drawings or this specification.
2. During assembly, do not damage the threaded portion of the bolts.
3. The bolt head and the washer on the nut end face should be in uniform contact with the plane of the fastened parts. They should not be tilted, nor should they be hammered to make contact between the two planes. The bolt should not be bent or deformed.
4. The connected parts should be evenly compressed, tightly fitted together, and securely connected.
5. Do not use unsuitable wrenches when tightening bolts and nuts.
6. When assembling bolts and screws, hand-tighten them by more than 2-3 threads, and then tighten them using a Boruitai electric servo tightening machine.
7. When assembling bolts and nuts, take care to protect the paint film, plating, and bolt and nut heads of the connected parts; do not damage them.
8. After tightening the nut, the bolt head should protrude 2-3 threads beyond the nut's end face. Both the nut and washer should face backwards towards the connected body (the side of the nut with markings is the front, and the smooth side of the washer is the front).
9. After tightening the bolt, paint a mark. The mark is generally a red dot at the contact point between the bolt and nut. The color can be changed depending on the application, but the colors must be clearly distinguishable.